In today’s digital age, storage space is a precious commodity. Whether you need extra room for your files, want to replace a faulty hard drive, or simply upgrade to a faster storage solution, knowing how to install a hard drive is a valuable skill. In this comprehensive guide, we will walk you through the process of installing a hard drive in both desktop and laptop computers.
Things You Should Know
Before diving into the installation process, there are a few things you should keep in mind:
- Compatibility: Ensure that your computer is capable of accommodating a new hard drive before making a purchase. Check your computer’s user manual or specifications to determine if it has an expansion slot or a replaceable hard drive.
- Backup: If you are replacing an existing hard drive, it is crucial to back up your data before proceeding. This protects your files and allows for easy restoration onto the new drive.
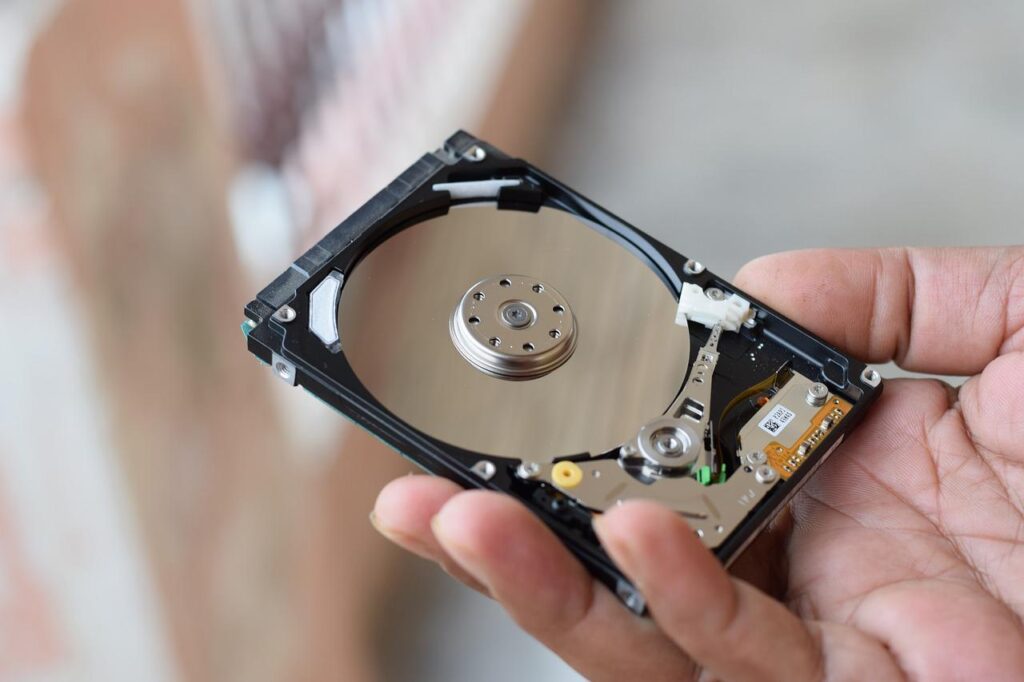
- Hard Drive Types: There are two primary types of hard drives: Hard Disk Drives (HDDs) and Solid State Drives (SSDs). HDDs are mechanical drives that offer higher storage capacity at a lower cost, while SSDs are faster, more durable, and quieter. Consider your needs and budget when choosing between the two.
Now that you are familiar with the basics, let’s dive into the step-by-step instructions for installing a hard drive in a desktop and laptop computer.
Installing a SATA Drive in a Desktop
Step 1: Gather Your Tools and Materials
Before you begin, make sure you have the following tools and materials:
- Screwdriver set (including a Phillips head screwdriver)
- SATA hard drive
- SATA cable
- Power supply cable (SATA or Molex, depending on your drive and power supply)
- Anti-static wristband (optional but recommended)
Step 2: Prepare Your Computer
- Shut down your computer. Click the Windows Start menu, select the power icon, and choose “Shut down.” Alternatively, you can press and hold the power button until the computer turns off.
- Unplug your computer from the power source.
- Ground yourself by touching something metal or wearing an anti-static wristband. This prevents electrostatic discharge that may damage your computer’s components.
Step 3: Open the Computer Case
- Locate the screws or latches securing the side panel of your computer case. Depending on the case, there may be one or more screws on the back or thumb screws on the side.
- Remove the screws or release the latches and slide off the side panel to expose the internal components.
Step 4: Remove the Old Drive
- Identify the existing hard drive and disconnect any cables connected to it. In most cases, there will be a SATA data cable and a power cable.
- If the hard drive is mounted in a drive bay, remove the screws securing it to the chassis and slide it out. If it is mounted in a drive cage, detach any screws or clips holding it in place and slide out the cage.
Step 5: Mount the New Drive
- If the new hard drive will be placed in a drive cage, slide it into the cage and secure it using screws or clips. If it will be placed in a drive bay, slide it into the bay and secure it with screws.
- Ensure the hard drive is securely fastened to prevent rattling or damage.
Step 6: Connect the Cables
- Locate an available SATA port on your motherboard. It is usually labeled SATA0, SATA1, etc. Connect one end of the SATA data cable to the hard drive and the other end to the motherboard’s SATA port.
- Connect the power supply cable to the power port on the hard drive. If your power supply has SATA power connectors, use them. Otherwise, use a Molex-to-SATA adapter.
Step 7: Close the Computer Case
- Slide the side panel back onto the computer case.
- Secure the panel with screws or latches.
Step 8: Power On and Format the Drive
- Plug your computer back into the power source.
- Power on your computer. You should hear the hard drive spinning up.
- Once your computer is powered on, you will need to format the new hard drive. Right-click the Windows Start menu, select “Disk Management,” and locate the new hard drive. It will likely be listed as “Unallocated.” Right-click the drive, select “New simple volume,” and follow the on-screen instructions to format the drive.
Congratulations! You have successfully installed a SATA hard drive in your desktop computer.
Installing a SATA Drive in a Laptop
Step 1: Backup Your Laptop’s Data
Before proceeding with the installation, it is essential to back up your laptop’s data. This ensures that your files are safe and can be restored onto the new hard drive.
Step 2: Check Laptop Compatibility
- Review your laptop’s user manual or specifications to determine if it supports additional or replacement hard drives. Some laptops have limited or non-replaceable hard drives.
- Consider any warranty implications that may arise from opening your laptop. On some laptops, tinkering inside may void the warranty.
Step 3: Obtain the Necessary Tools and Materials
To install a new hard drive in your laptop, gather the following tools and materials:
- Screwdriver set (including a Phillips head screwdriver)
- Compatible hard drive (SATA or M.2)
- Anti-static wristband (optional but recommended)
Step 4: Prepare Your Laptop
- Turn off your laptop by clicking the Start menu, selecting the power icon, and choosing “Shut down.” Alternatively, press and hold the power button until the laptop turns off.
- Disconnect the laptop from its charger.
- Ground yourself by touching something metal or wearing an anti-static wristband to prevent electrostatic discharge.
Step 5: Access the Hard Drive Compartment
- Refer to your laptop’s user manual or online resources to determine the location of the hard drive compartment. It is usually located on the bottom of the laptop, secured by screws or latches.
- Remove the screws or release the latches to open the hard drive compartment.
Step 6: Remove the Old Drive
- Identify the existing hard drive and disconnect any cables connected to it. This typically includes a SATA data cable and a power cable.
- Remove any screws or brackets securing the old drive in place.
- Carefully slide out the old drive from its slot.
Step 7: Install the New Drive
- Align the new hard drive with the slot and carefully slide it into place.
- Secure the new drive using screws or brackets.
Step 8: Reconnect the Cables
- Connect the SATA data cable to the new hard drive.
- Connect the power cable to the appropriate port on the drive.
Step 9: Close the Hard Drive Compartment
- Ensure that all cables are securely connected and positioned properly.
- Close the hard drive compartment and secure it with screws or latches.
Step 10: Power On and Format the Drive
- Plug your laptop back into its charger.
- Power on your laptop. The new hard drive should be detected automatically.
- Format the new hard drive by following the on-screen instructions in your operating system. This typically involves right-clicking the new drive, selecting “Format,” and choosing the desired file system.
Congratulations! You have successfully installed a SATA hard drive in your laptop.
Conclusion
Installing a hard drive in both desktop and laptop computers is a relatively straightforward process that can greatly enhance your storage capacity and performance. By following the step-by-step instructions provided in this guide, you can confidently add or replace a hard drive in your computer. Remember to backup your data, ensure compatibility, and take necessary precautions to protect your computer from electrostatic discharge. With your new hard drive installed, you can enjoy increased storage space and improved performance for years to come.
Remember, practice makes perfect, and the more comfortable you become with installing hard drives, the easier the process will become. Happy computing!
 in Laval, Quebec, Canada